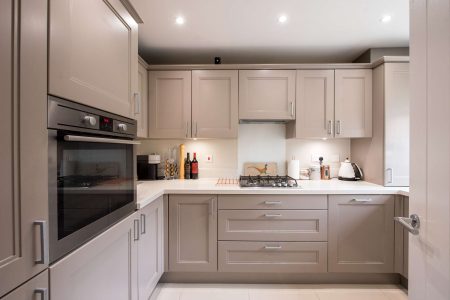
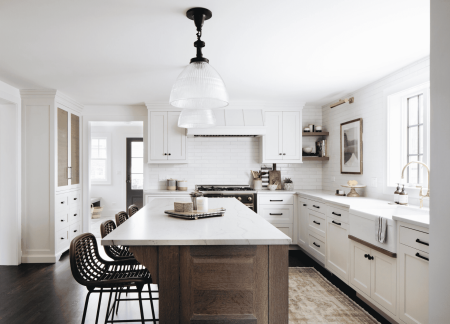
Replacing cabinet doors is one of the most reliable ways to quickly update a kitchen, while avoiding the expense of complete cabinet replacement. This simple project replaces a single-door overlay kitchen cabinet door and takes about 30 minutes per door.
What Is an Overlay Cabinet?
An overlay cabinet is a common type of kitchen cabinet with a door that partially or fully covers the cabinet’s face frame.
When to Replace Kitchen Cabinet Doors
Replace kitchen cabinet doors when the kitchen cabinet boxes are in good structural condition but only the doors need replacement. If the cabinet boxes are warped, out of square, or if the veneer is peeling off, it may be time to install new kitchen cabinets.
What You’ll Need
Equipment / Tools
- Electric drill
- Phillips screwdriver
- Forstner bit (35 mm or 1-3/8-inch)
- Straightedge
- Tape measure
- Pencil
Materials
- Cabinet door
- Cabinet handles
-
2
concealed hinges
Instructions
Replacing Cabinet Doors
-
Measure for a New Door
Measure the width and height of the cabinet opening. Next, determine the desired overlay width. Overlays range from 1/2- to 1-1/2 inches, with 1/2-inch being a common overlay width. Double the overlay width and add it to both the width and height. So, for a cabinet with a 14-inch by 26-inch opening and a 1/2-inch overlay, the door would need to be 15 inches wide by 27 inches high.
-
Remove the Cabinet Door
Use a manual screwdriver or electric drill with a driver bit to remove the cabinet door hinges from the cabinet frame. Remove the hinges and set them aside if you intend to reuse them.
-
Paint the Cabinet (Optional)
The cabinet box face frames and sides may need to be painted to harmonize with the new cabinet doors. If so, paint the cabinets soon after removing the doors. This gives the paint more time to cure before you install the new doors.
-
Bore the Hinge Holes
Use the drill, Forstner bit, and the concealed hinge jig to drill holes in the cabinet door for the concealed hinges. Use the old cabinet door as a reference guide for where to bore the holes on the new door. Or, if you are establishing new locations, hinge holes on 1/2-inch overlay cabinets should be 3-1/2 inches on-center from the top and the bottom.
-
Attach the Hinges to the Door
Flip open the door hinges. Place the cup portion of one of the hinges in the hinge hole. Use the provided screws and a manual or electric driver to attach the hinge to the door. Begin with pilot holes to avoid splitting the wood. Repeat for the other hinge.
-
Mark the Mounting Plate Locations on the Cabinet
Mark a line 2-1/4 inches from the edge of the cabinet on the inside of the cabinet. Measure up 3-1/2 inches from the bottom of the cabinet and make a mark on the line. Repeat by measuring down 3-1/2 inches from the top and making a mark.
-
Install the Mounting Plates on the Cabinet
Remove the cabinet-side mounting plates from the hinges. Attach the mounting plates to the marked locations on the cabinet.
-
Attach the Door to the Cabinet
Slide the door into the hinges and tighten the screws to hold the hinges in place.
-
Install the Cabinet Handles
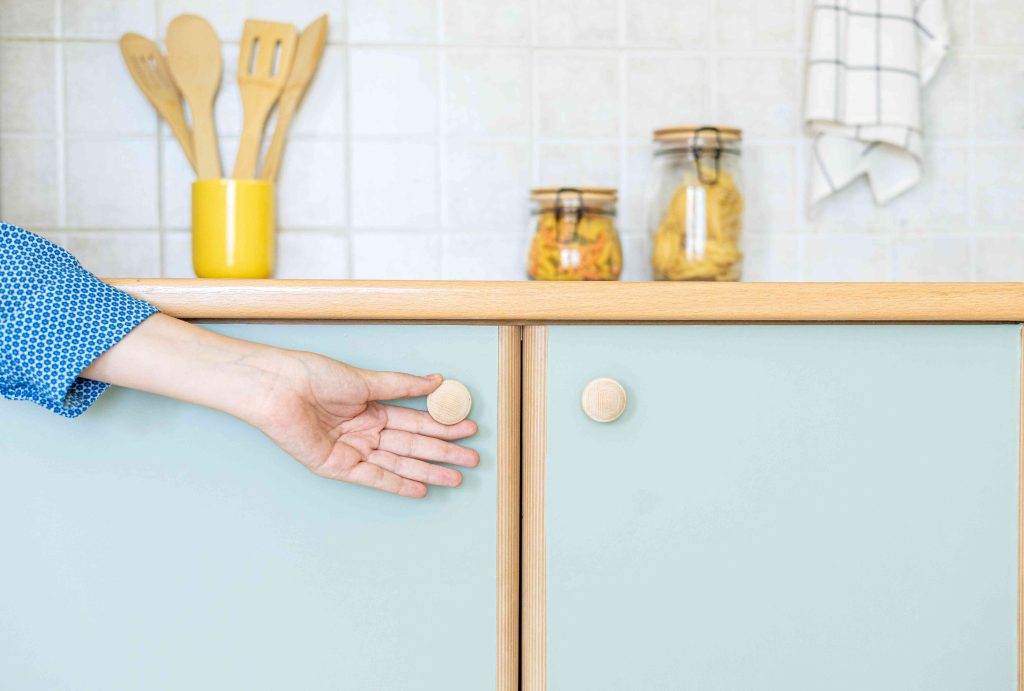
Install the cabinet handles on the cabinet door.
Other Ways to Update Cabinets
Replacing cabinet doors is one way to update cabinets, but it’s not the only way. Other methods, like refacing, staining, and painting, might be a better fit for you than door replacement.
Refacing Cabinets
Cabinet refacing is a professional service where cabinet doors and drawers fronts are replaced, cabinet interiors are painted, and wood veneer or hardwood panels are added to the cabinet faces and sides.
Because so many elements are replaced, cabinet refacing is as close as you can get to replacing the cabinets without actually doing so. Specialized skills, like veneering, are involved, so it’s not a DIY-friendly project. Reface the cabinets only when the cabinet boxes are in good condition.
Staining Cabinets
Staining cabinets involves removing all hardware and fixtures, removing cabinet doors and drawers fronts, and then cleaning, sanding, staining, and re-coating all pieces.
For cabinets that are in good structural shape, re-staining can have a dramatic effect. This project is time-consuming because the original protective coating must be completely sanded off before you can apply the new stain. For this reason, many homeowners decide to have professionals stain their cabinets.
Painting Cabinets
Painting cabinets means removing all doors and drawers fronts, taking off hardware and fixtures, cleaning all pieces, scuffing the surfaces, and painting them.
Painting cabinets is an inexpensive DIY project. Unlike the staining method, the cabinets’ original protective coating doesn’t need to be stripped off completely. It only needs to be scuffed or roughened for the new paint to stick.
-
What’s the most affordable way to update kitchen cabinets?
The most affordable way to update kitchen cabinets is to remove the existing cabinet doors, paint the cabinet boxes, and then install new cabinet doors. The cabinet boxes must be in good, structural condition to replace the cabinet doors. If not, it’s usually best to completely replace the cabinets.
-
Is it cheaper to just replace cabinet doors?
Replacing cabinet doors is cheaper than replacing the cabinets, which costs from $100 to $1,200 per linear foot. Replacing doors is even cheaper than refacing cabinets.
-
Is it cheaper to paint or replace cabinet doors?
Painting cabinet doors is cheaper than replacing cabinet doors. Painting all of the cabinets in a small kitchen costs about $200 to $500.
Read the full article here
